- Home
- Applications
- Bathrooms
Bathrooms
No grout lines, so nothing to scrub and nothing going black in the corners. Walls, floor, vanity front and niche, all one material, and it goes over the tiles you’ve already got. Most bathrooms get done without a demolition. One thing first: the waterproofing goes underneath and has to comply on its own. Advanced microcement is the finish over it.
The waterproofing is your surface.
In a bathroom the microcement sits on your membrane, and at a millimetre or two thick it shows every lump. Flat membrane, flat wall. Ridges and runs, ridges and runs. If the waterproofing’s still to be done, tell your waterproofer it’s getting microcement and ask for it flat.
Already waterproofed and signed off? Hold a lamp close and angled along the wall. Anything that shows now will show when you’re finished.
Not sure if your waterproofing’s signed off? Ask us before you buy.

Tiled? The tiles stay.
You don’t rip tiles off to put microcement on. Tap them and relay anything hollow. Then the glaze gets keyed so the primer grips, and every grout line gets filled flush with the acrylic render base and left to harden. Skip that and the grout pattern comes through as a grid of hairlines. The wet-area kit’s mesh goes over the top and bridges them for the same reason.
Tell us you’re going over tiles and we’ll include the base.
Which kit.
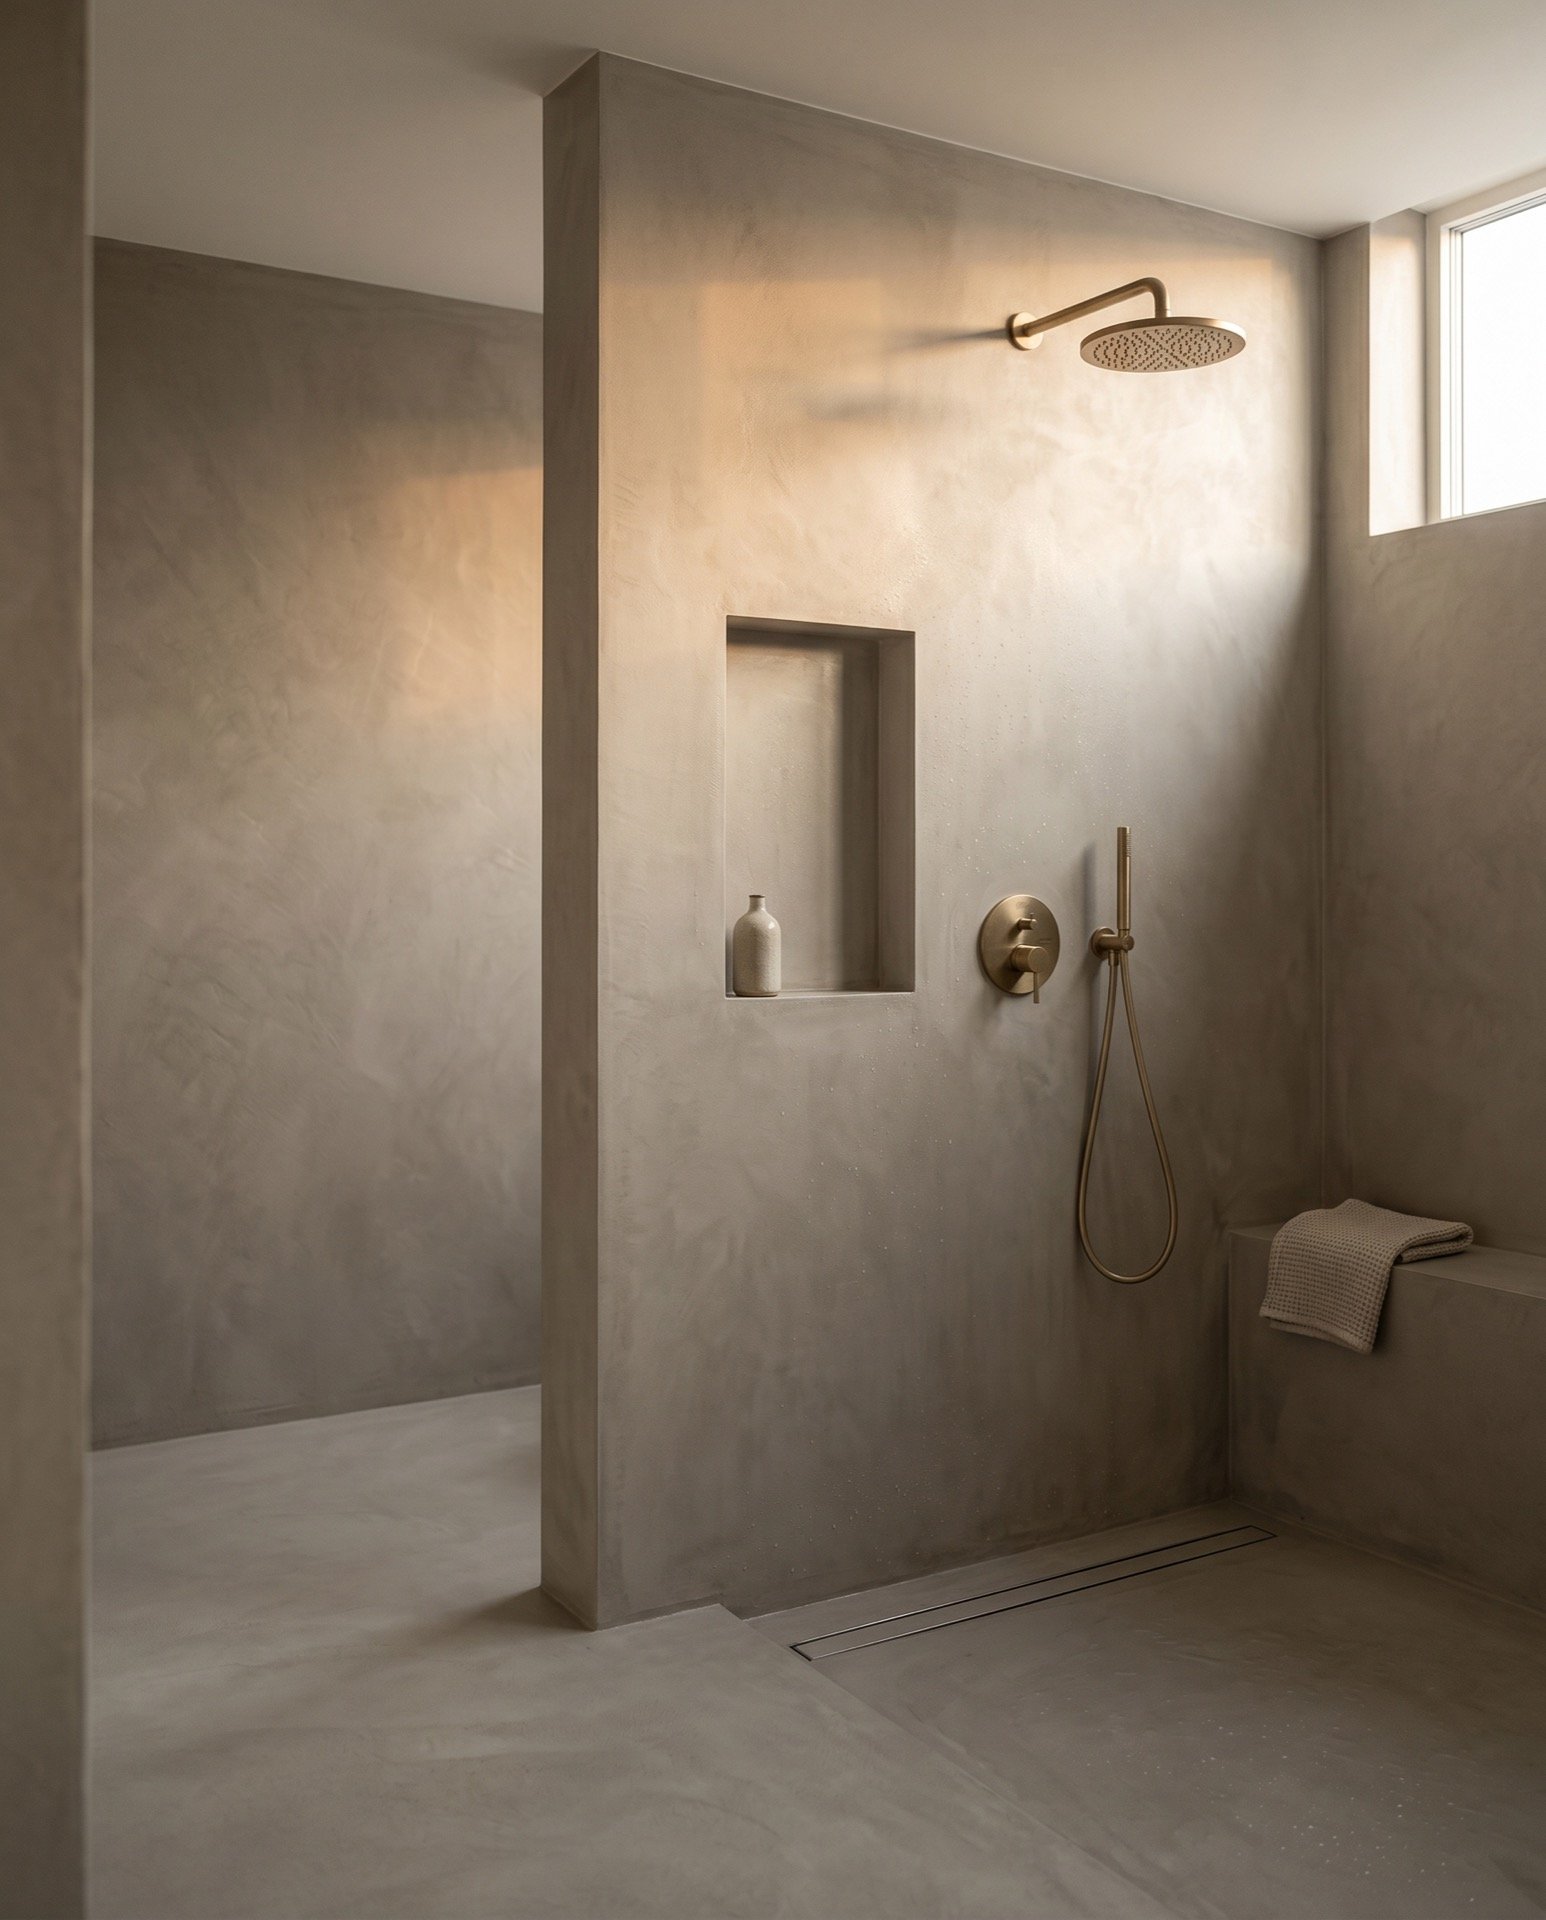
Everything in a bathroom is a wet area, so the kit includes mesh. Shower walls and bathroom walls take X-Micro, super fine, over your waterproofing. The floor or a shower base takes Xtreme. Ask about coarse for a shower floor: more grain, more grip when it’s wet.
Walls, base and niche run as one surface.
Sealer, water and cleaning.
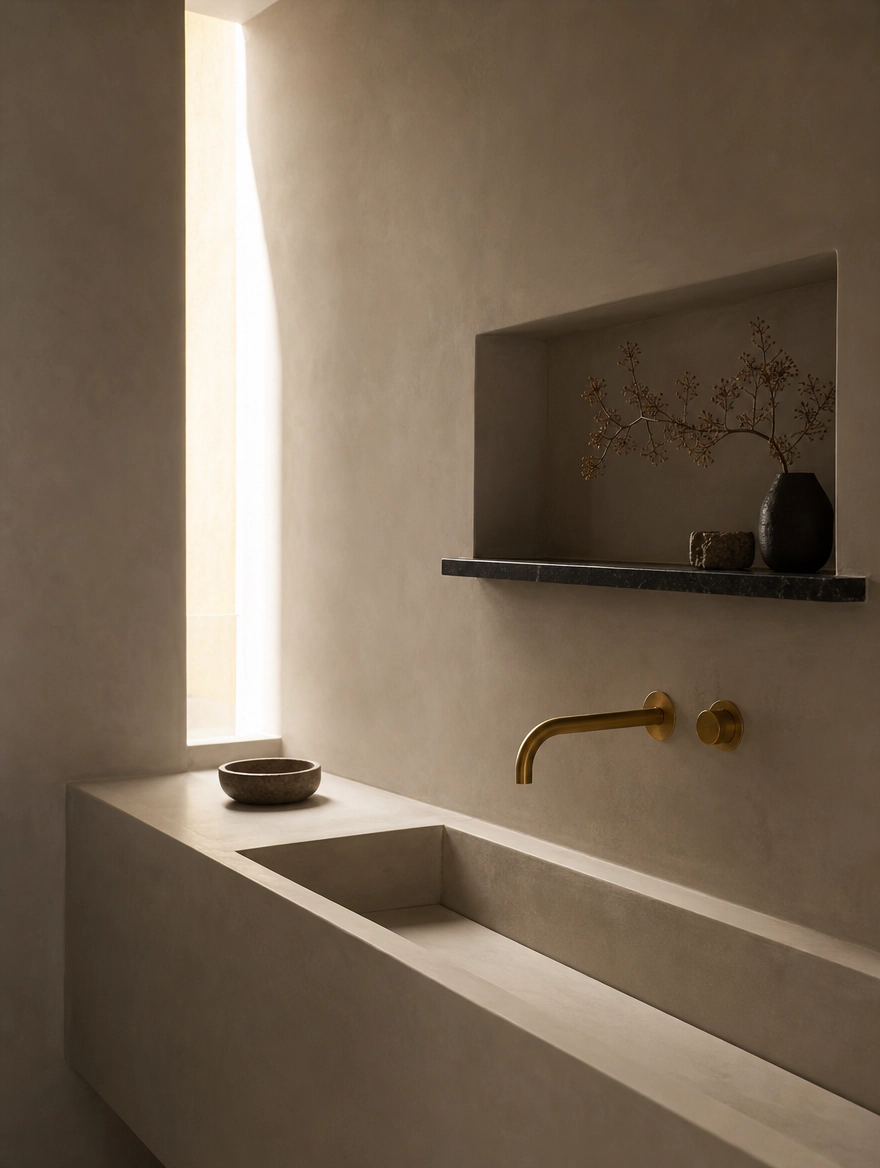
Every kit finishes with a sealer, and in a bathroom the sealer is what the room lives on. Water and soap hit the sealer, not the cement. Sealers cure over days, not hours, and the room stays dry until they have. Plan the first shower for later in the week and ask us for the timing on your kit.
Day to day, a pH-neutral cleaner and a soft cloth. No bleach, no strong acids, no scourers; they attack the sealer. Reseal every few years, sooner in a daily shower. You can do it yourself.
Four things people ask about this room.
01 Is microcement waterproof?
No. Be wary of anyone who says it is. Microcement is water-resistant. Sealed properly it shrugs off everyday water and splashes.
What keeps water out of the building is the waterproofing membrane underneath, and in Australia that has to comply on its own. Microcement is the finish over the top. Wet area already waterproofed and signed off? You’re ready for a kit. Not done? Talk to your waterproofer first.
Entry 02 in the FAQ02 Can microcement go over existing tiles?
Yes. Most reno jobs do. The tiles have to be sound (tap them, relay anything hollow), the glaze gets keyed so the primer grips, and every grout line gets filled flush with the acrylic render base and left to harden. Skip the filling and the grout pattern comes through.
Tell us you’re going over tiles and we’ll include the base in the price.
Entry 03 in the FAQ03 Which kit, X-Micro or Xtreme?
Go by what you’re covering, not what you want to spend. X-Micro is the wall kit: one super-fine grade for a smooth finish, and in a bathroom it’s the finish over your waterproofing. Xtreme does walls and floors, in coarse, medium and fine, and it’s harder wearing.
Walls only? X-Micro will do it. You don’t need Xtreme’s hardness on a surface nobody walks on. Any floor in the job? Xtreme.
Entry 07 in the FAQ04 How do you maintain microcement?
A pH-neutral cleaner and a soft cloth or mop, spills wiped up promptly, nothing abrasive, no bleach. You’re looking after the sealer, not the cement.
Reseal every few years on a floor, sooner in a daily shower, much less often on a wall. It’s a weekend job you can do yourself. Ask us when you’re due and we’ll tell you what to use.
Entry 16 in the FAQGo straight to the kit.
These are supply kits: primer, advanced microcement, sealer and the hand tools. You do the work. What a kit costs and covers.