
- Home
- Applications
- Kitchens & benchtops
Kitchens & benchtops
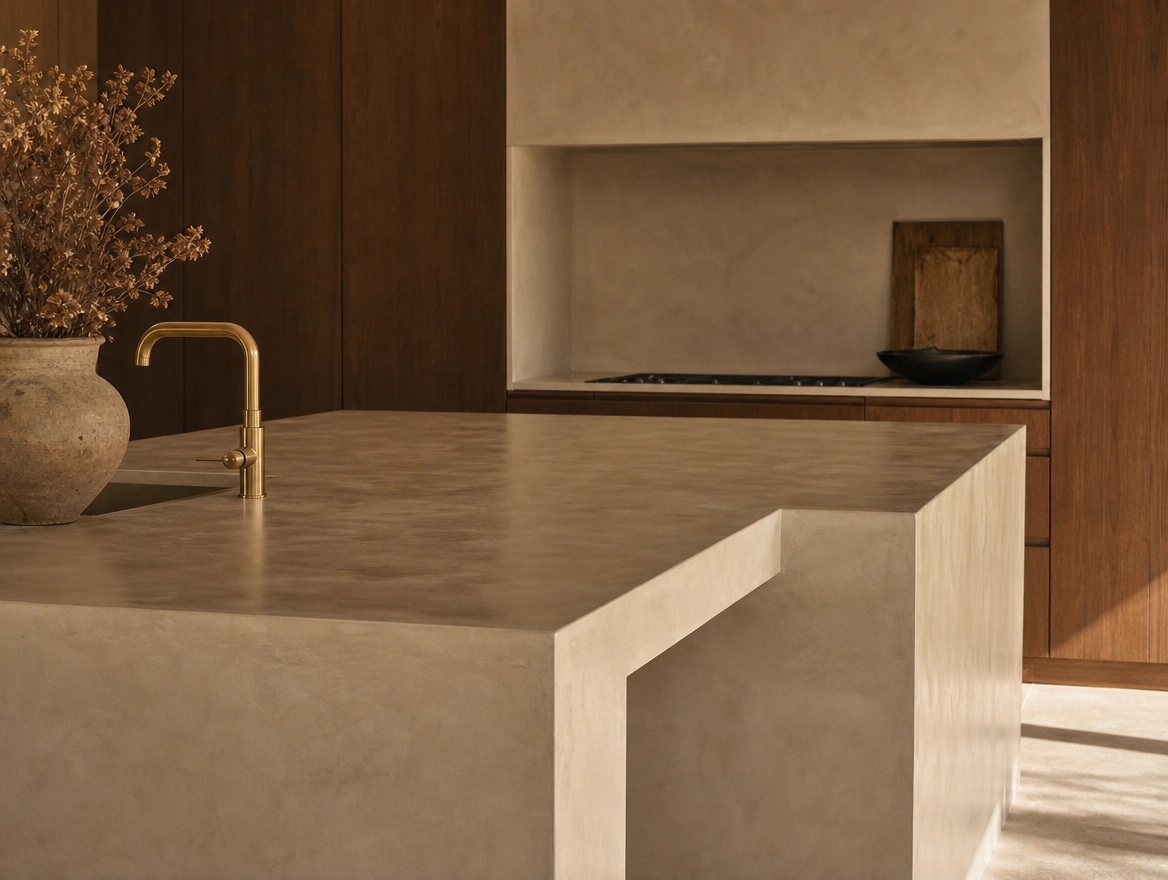
Advanced microcement does the splashback, walls and floor in one material, and it goes straight over a tiled splashback you’re sick of scrubbing. We don’t sell a benchtop kit. A benchtop cops heat, knives and lemon juice in a way a wall never does, so it’s a different build-up and a different sealer. Tell us the job and we’ll quote it.
What the surface has to be.
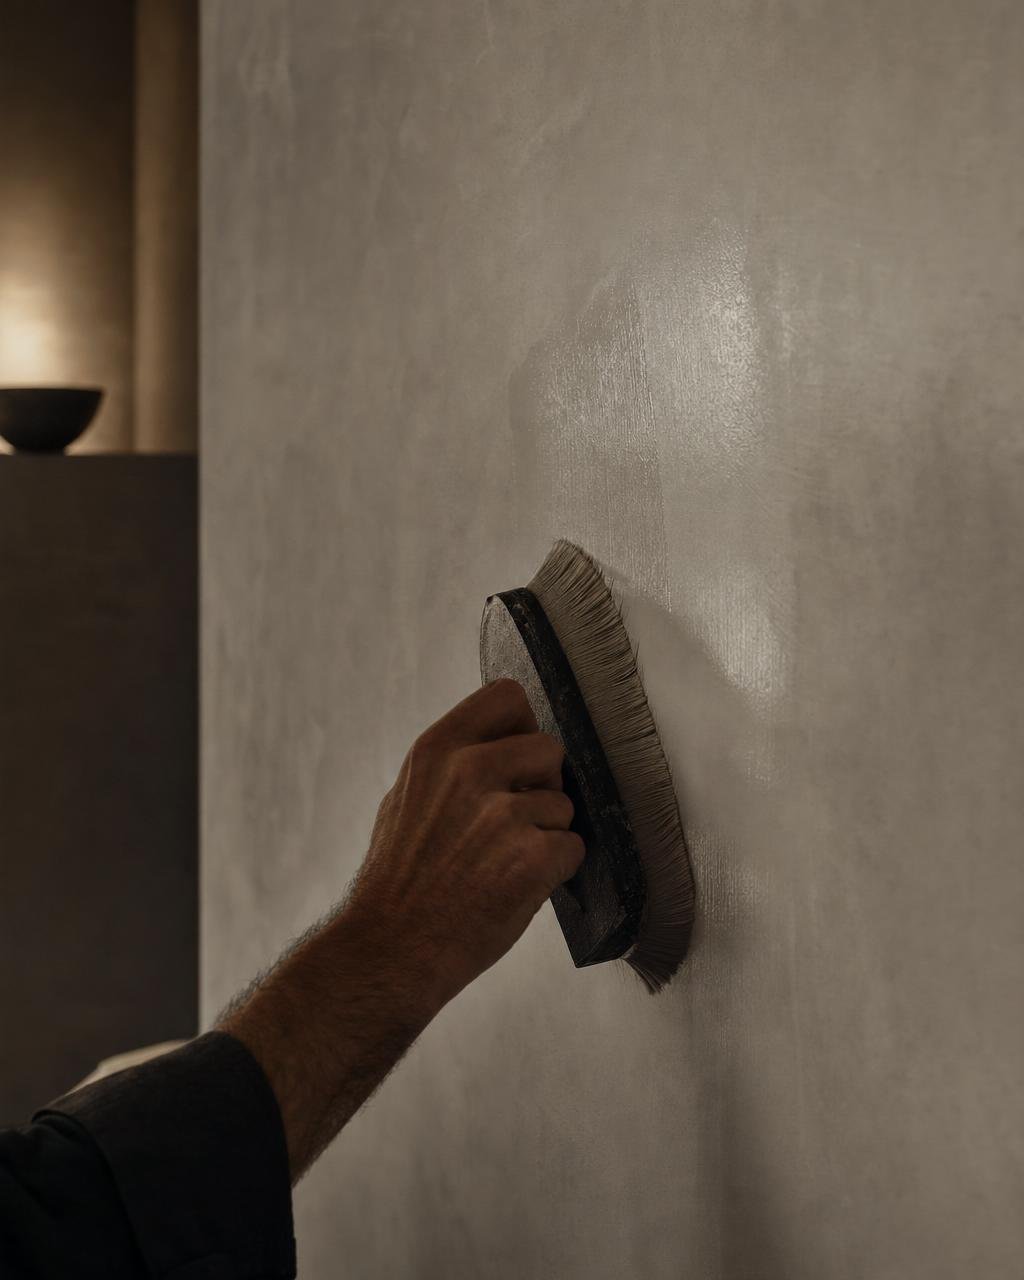
Kitchen walls are usually painted plasterboard. Paint’s fine if it’s stuck. Sound paint gets keyed and primed; anything flaking comes off and gets patched, because microcement follows a loose paint film straight off the wall. Sheet joints get a strip of mesh so they can’t crack through.
A kitchen floor is concrete, screed or tile. New concrete or screed has to be fully cured and dry first; most manufacturers say about four weeks and a moisture check.

A tiled splashback stays.
Tiles get keyed, grout lines get filled flush with the acrylic render base, then the primer goes on.
Tell us you’re going over tiles and we’ll include the base.
Which kit.
A kitchen wall or splashback is dry and takes X-Micro. The floor takes Xtreme, medium for most indoor floors. A laundry or wet room takes the wet-area kit, mesh included.
Sealer, spills and cleaning.
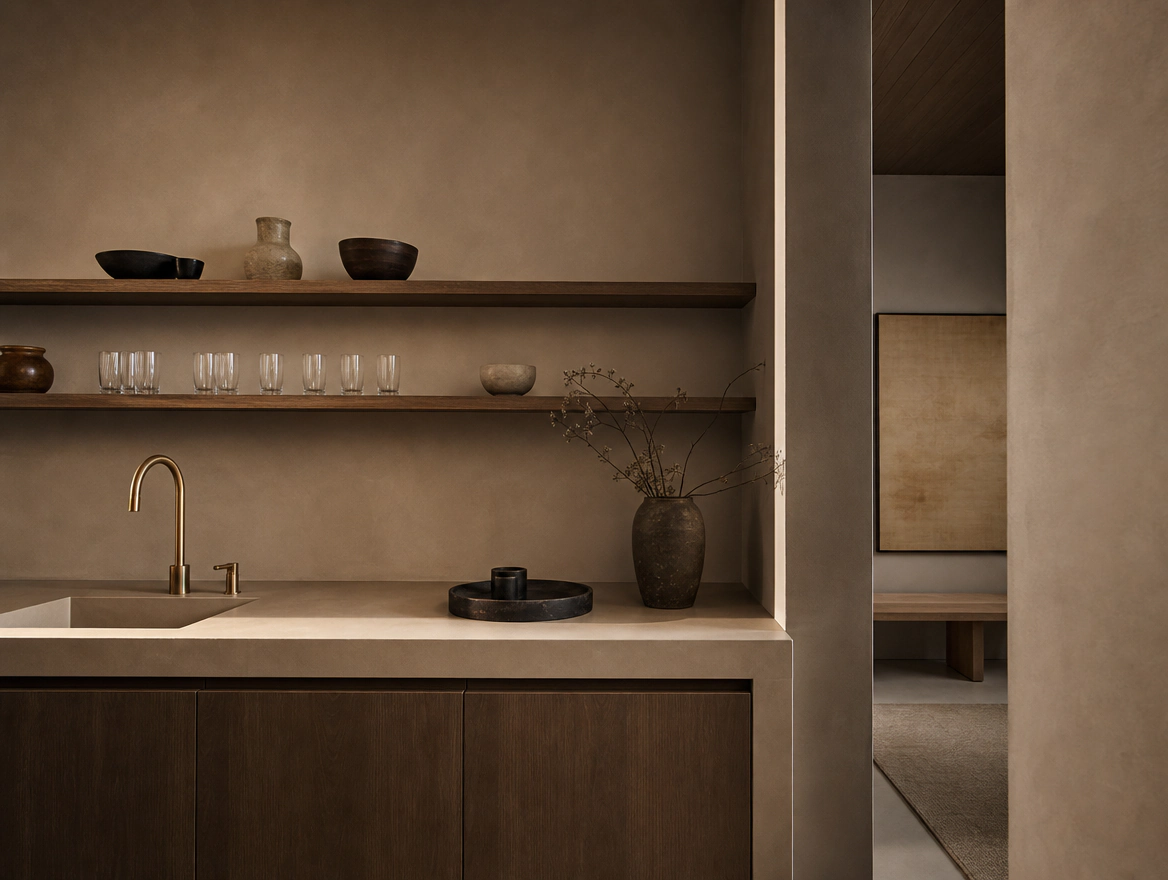
In a kitchen the sealer takes the spills. Water, oil and soap sit on a cured sealer without a mark. Vinegar, lemon juice and spirits, wipe up promptly; acid and alcohol work on the sealer if they sit.
Clean with a pH-neutral cleaner and a soft cloth or mop. Keep the bleach and scourers for something else.
Four things people ask about this room.
01 Can microcement go over existing tiles?
Yes. Most reno jobs do. The tiles have to be sound (tap them, relay anything hollow), the glaze gets keyed so the primer grips, and every grout line gets filled flush with the acrylic render base and left to harden. Skip the filling and the grout pattern comes through.
Tell us you’re going over tiles and we’ll include the base in the price.
Entry 03 in the FAQ02 What does a kit cost and cover?
One tub does 15 m2. Kits come in 15 m2 (one tub) and 30 m2 (two tubs). Kits from $399 for a 15 m2 wall kit. Floors, wet areas and going over tiles change the price, so call us or send the job and we’ll price it. Wet-area kits add mesh. Over 30 m2 is a supply job and we quote it.
A kit price is the material, not an installed job. If you’re pricing an applicator, their quote covers labour and prep as well, and it’s a different number.
Entry 06 in the FAQ03 What about a benchtop?
Not from a kit. A benchtop takes a different build-up and a harder sealer than a wall, because it cops heat, knives and citrus every day. Tell us the benchtop and we’ll quote it.
Entry 11 in the FAQ04 Is it stain and scratch resistant?
Sealed, yes, for everyday use. The sealer takes the wear, and a cured sealer shrugs off water, oil and soap. Acids and alcohol are the ones to wipe up: vinegar, lemon juice and spirits work on the sealer if they sit.
It isn’t scratch-proof. A dragged chair or a dropped knife can mark it, so felt under the chair legs.
Entry 17 in the FAQGo straight to the kit.
These are supply kits: primer, advanced microcement, sealer and the hand tools. You do the work. What a kit costs and covers.
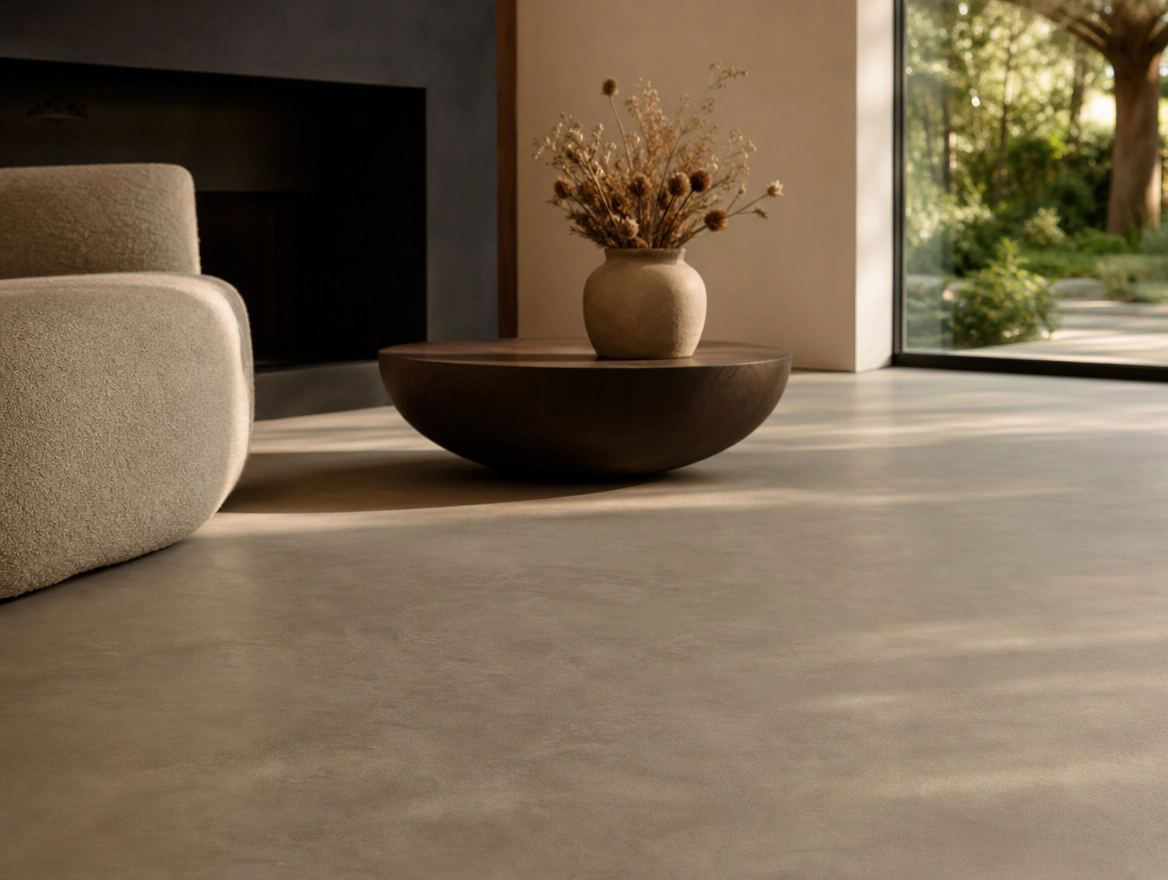 01Xtreme MicrocementFor walls and floors. Harder wearing than X-Micro.Kits from $399 for a 15 m2 wall kit
 02X-MicroFor walls, and bathroom walls over your waterproofing.Kits from $399 for a 15 m2 wall kit
- Benchtops are quoted per jobEnquire